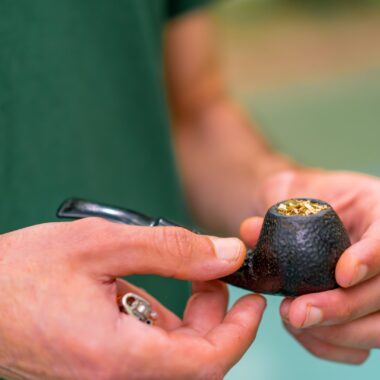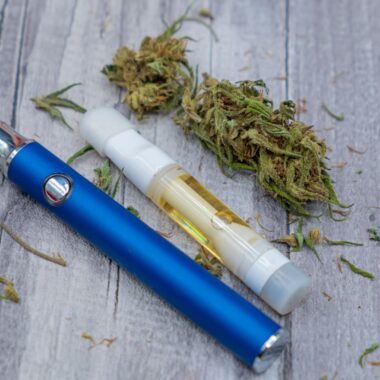


Vaping is a practice that is steadily gaining popularity across the globe. What better way to enjoy your vaping experience than building your coils? This is because the process is not only thrilling but also cuts on costs that would be otherwise used to buy coil heads every time you need to vape. As the saying goes, ‘practice makes perfect,’ and constant practice in coil building eventuates to perfection.
 However, it’s vital to note that coil building requires very particular knowledge of battery safety and Ohms Law in general. Before indulging in this activity, one must have proper knowledge of all the nitty-gritties involved in batteries and be of sound and sober mind. These restrictions are put in place to ensure the safety of the coil builders.
Types of Coils
There are majorly two types of coils. These include:
• Micro coils- as the name suggests, these types of coils are relatively small with an inner diameter of 1mm-2mm.
• Macro coils- these are bigger than the micro-coils and have an inner diameter of 2mm or more.
Materials Needed to Build a Coil
• Resistance wire- a wire is very basic for this process. You can choose from stainless steel, nichrome, kanthal or nickel. It is advisable to choose a wire with a lower gauge. This is because; this kind of wire has a lower resistance and as such, can be coiled over and over. This, in turn, increases the surface area and hence production of more vapor.
• Ceramic tweezers- these are used while pinching the coils during pulsing. It is advisable to use ceramic tipped tweezers.
• Flush cutters- these come in handy during wire cutting. The cutters should be such that they can cut close even in the tiniest of spaces.
• Metal rod- this could either be a coiling tool or a screwdriver.
• Organic cotton- this is used for wicking purposes.
• Scissors- these are used to trim the cotton mentioned above.
• Ohm reader- this aids in the accurate detection of resistance. This material is however optional.
Step by Step Process of Coil Building
1. Gather all your materials in one place.
2. Identify the type of coil you want to build; i.e., micro coil or macro coil.
3. Take your wire and insert it through the chosen metal rod, after which, you put the top back on and spin it to facilitate easy wrapping of the wire around the metal rod. Take caution not to apply too much pressure while at this stage to avoid problems in later stages.
4. Carefully wrap the wire on the metal rod to make a good coil. Be careful to note the number of wraps because it is directly proportional to the resistance of the coil. The Ohm reader comes in handy at this juncture.
5. After meticulously wrapping the wire to form a coil, with the help of wire cutters, cut off any extra wires to ensure that no wire is hanging anywhere.
6. At this point, you now have a coil in place. You should now ensure that all the wires are very tight. As much as possible, always strive to ensure that the wire at the bottom is properly tightened.
7. After that, using the wire cutters, clip off any excess wire. Once that is done, position the coil such that it is well straightened and centered for efficiency during wicking and firing.
8. Having done all that, it’s time to use the Ohm reader (especially for new builders) to read the resistance of the coil. You are then able to adjust your coil to the watts you wish to have your device running at.
9. It is now time to test your device. Fire the coil up to see if it heats up; if it heats up properly, then congratulations to you. You have a functional coil. However, if you experience difficulties in firing it up, do not panic or despair. Use your tweezers to either spread or squeeze the coil while testing it until it evenly heats up.
10. Once you can heat up your coil evenly, you are now well set for the wicking stage. You are required to take your cotton and slowly fit it into your coil. Just like in the case of the wires, any extra cotton must be cut off. To ensure the stability of the cotton, you need to tuck the cotton firmly to the base of the deck.
11. It’s now time to enjoy the fruits of your ‘labor.’ Soak the cotton with the flavor juice of your choice and vape on!
Given the growing interest in vaping, vapers ought to learn how to build coils. This art and science serves as a hobby and can even earn and save you money while at it. All you need to do is have the right knowledge and practice consistently.